
Whitening Strips vs Professional Whitening: A Cost-Benefit Breakdown
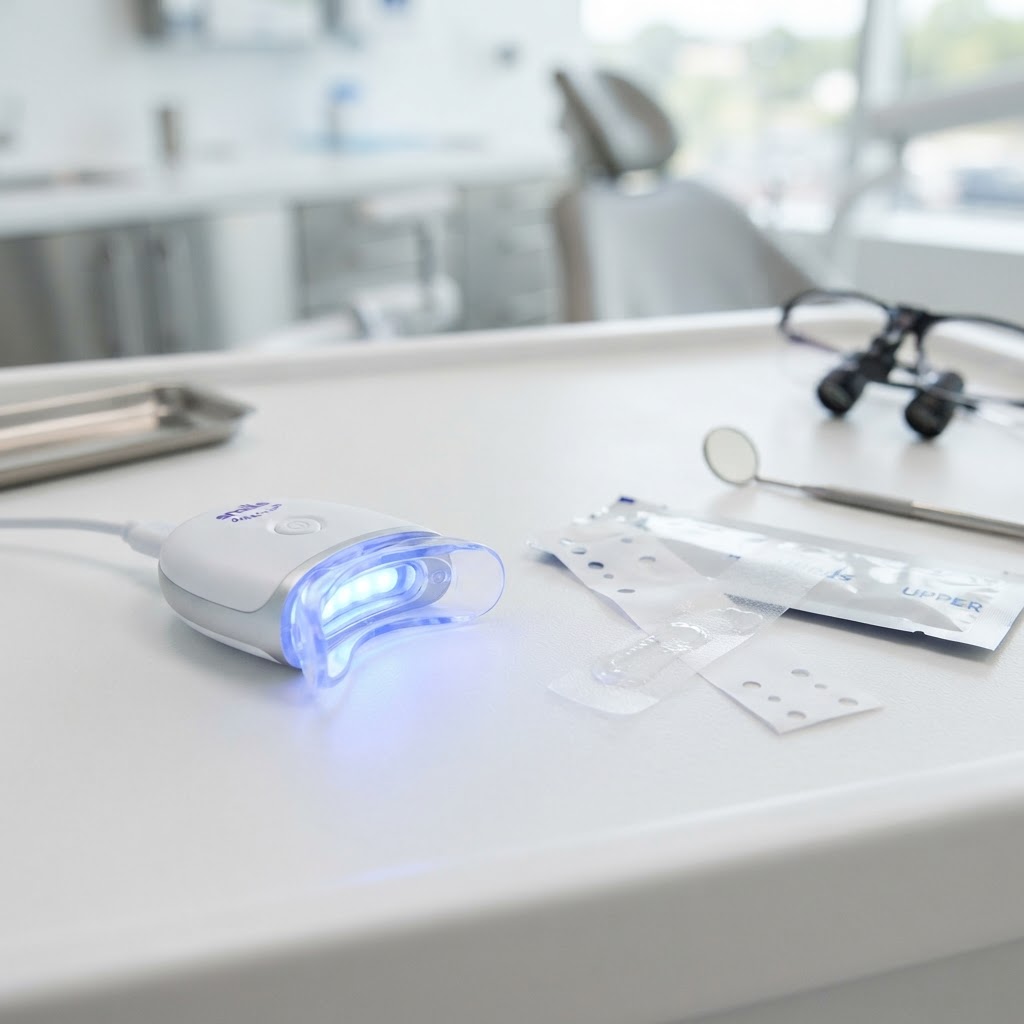
Four routes to a whiter smile, compared on concentration, time, cost, sensitivity and real shade shift — so you pick the one that fits.
There is no single "best" whitening method — there is the best one for your enamel, your stain and your budget. The four common routes differ mostly in peroxide concentration and contact time, which together set the trade-off between speed and sensitivity.
| Method | Concentration | Time | Cost (USD) | Sensitivity | Shade shift |
|---|---|---|---|---|---|
| OTC strips | 6–10% HP | 30 min/day · 2–4 wk | $25–50 | Moderate | 2–3 steps |
| LED kits | 6–15% HP | 10–30 min · 1–2 wk | $50–150 | Moderate | 1–2 steps |
| Custom trays (CP) | 10–22% CP | 1–8 h/day · 2–4 wk | $150–300 | Low | 3–4 steps |
| In-chair HP | 25–40% HP | 60–90 min · 1 visit | $300–600 | Higher | 4–6 steps |
Shade shift in VITA steps is typical, not guaranteed. CP = carbamide peroxide, HP = hydrogen peroxide.
More shift generally costs more and carries more sensitivity — the question is how much shift you actually need.
When to choose which: if your stain is mild and recent, OTC strips are often enough. If you want the gentlest sustained route and have uneven teeth, custom CP trays win on both fit and sensitivity. If you need a fast, large shift for an event and your enamel is healthy, in-chair HP delivers in one visit — at the cost of a sensitivity spike.
teewai does not push one route. After your scan it estimates your stain type, enamel condition and realistic target, then suggests the method that reaches your target without over-treating. A thin-enamel, sensitive scan will never recommend 35% in-chair HP — it will point you to a 10% CP tray and a longer timeline.
See where you sit on the VITA scale — scan your smile with teewai.